Tutorials
How To Build your First Framer Plugin in 2026
Last updated:
Written by:
In this tutorial, you’ll learn how to set up your environment, start a plugin project, preview it in Framer, and understand the basics of how plugins work. No coding experience required.
Over the past year I’ve released a few plugins on the Framer Marketplace. From simple free tools to more advanced paid ones.
I often get asked how I built my plugins so I decided to write a quick tutorial with the process.
If you’re a designer or someone who only knows the basics of coding, building a plugin may seem like something really challenging.
In this tutorial I’ll walk you through the full process of creating your first Framer plugin, from setup to publishing, in a beginner-friendly way.
Let’s get started.
1. What You'll Need
To build a Framer plugin, you’ll need a few basic tools installed on your computer:
A Framer account: to preview and test your plugin.
An IDE (code editor): this is the app where you’ll write and organise your plugin’s code. Think of it like Framer but for coding instead of designing (VS Code, Cursor or any other IDE will work).
A Github account: to store your plugin’s project files (optional but strongly recommended)
Node.js + npm + Git: these are standard tools used to manage the code you’ll be writing.
A plugin idea: even something small is enough for your first one.
2. Prerequisites
Before starting, we need to make sure you have Node, npm, and Git installed on your computer. Just run the commands listed below in your terminal.
Open your Terminal
macOS: ⌘ + Space → type “Terminal”
Windows: open Command Prompt (cmd)
Run (type the text + press Enter after each command):
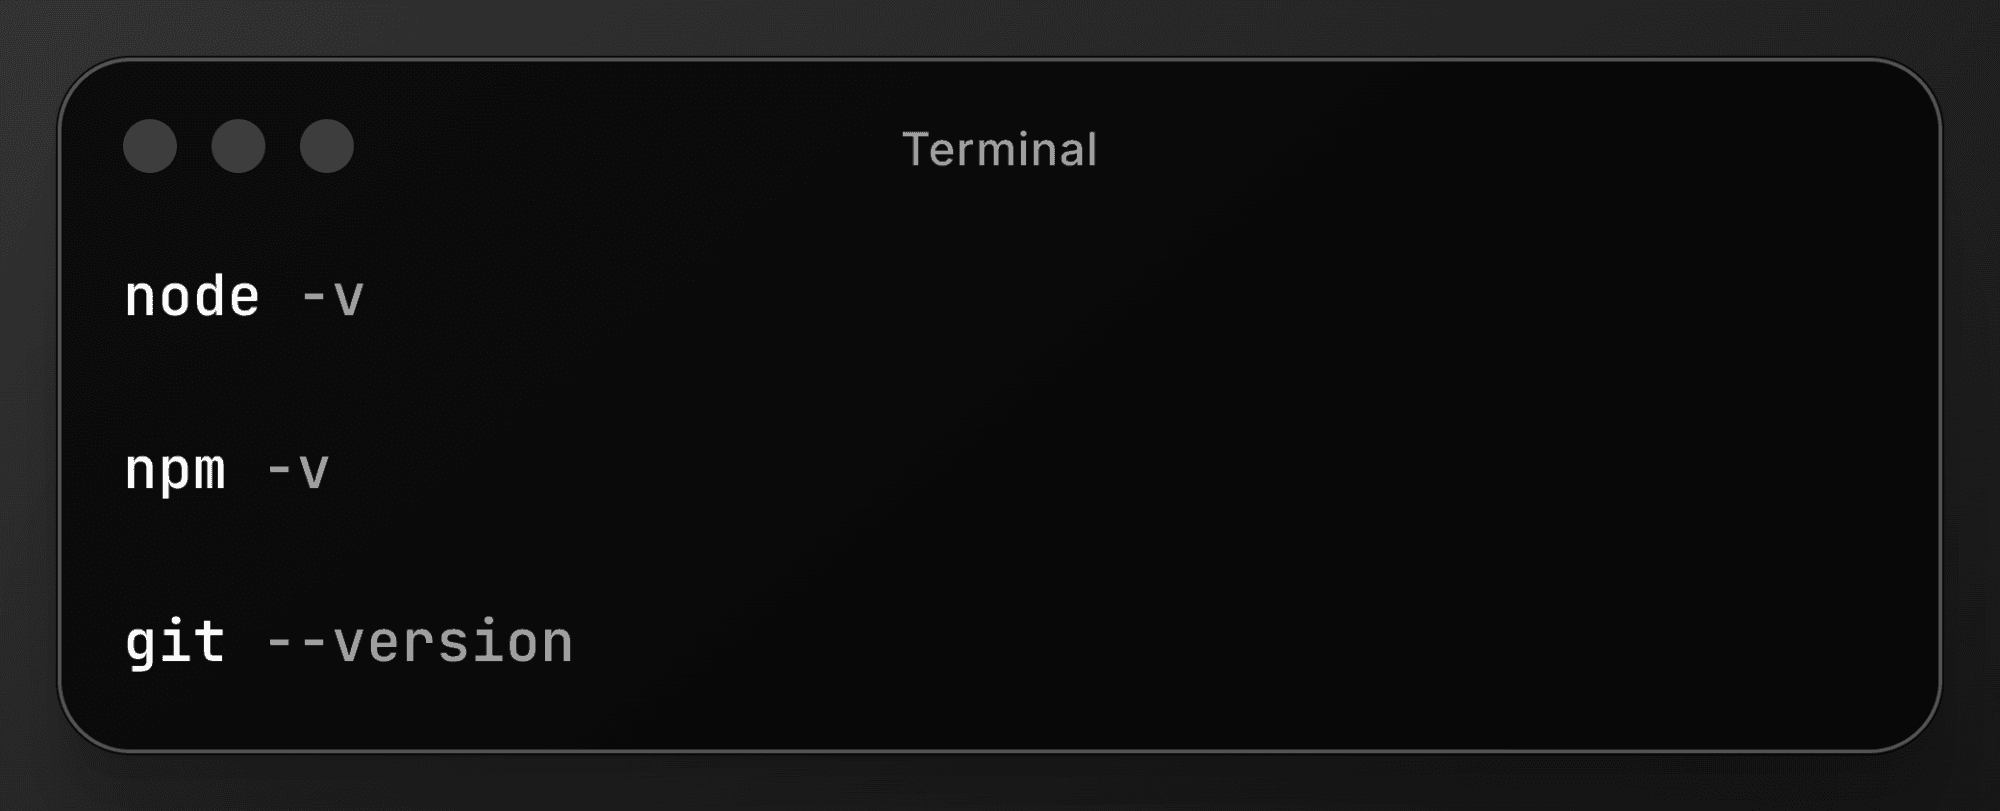
If all three return version numbers, you're ready.
If running node -v doesn’t show a version number, it means Node.js isn’t installed yet. Download it from the official website and install it (npm comes bundled with it). After installation, run the commands again to make sure everything is working.
If git --version gives you an error like command not found, you’ll need to install Git:
macOS: either install Homebrew and run brew install git, or download Git directly from git-scm.com.
Windows: download the Git installer from git-scm.com and follow the setup steps. It will configure everything for you automatically.
3. Set Up Your Plugin Project
You’re now ready to start setting up your plugin project.
Open your code editor (VS code or other) and open the in-built terminal (the terminal within your code editor).
Then run the following command in the terminal:
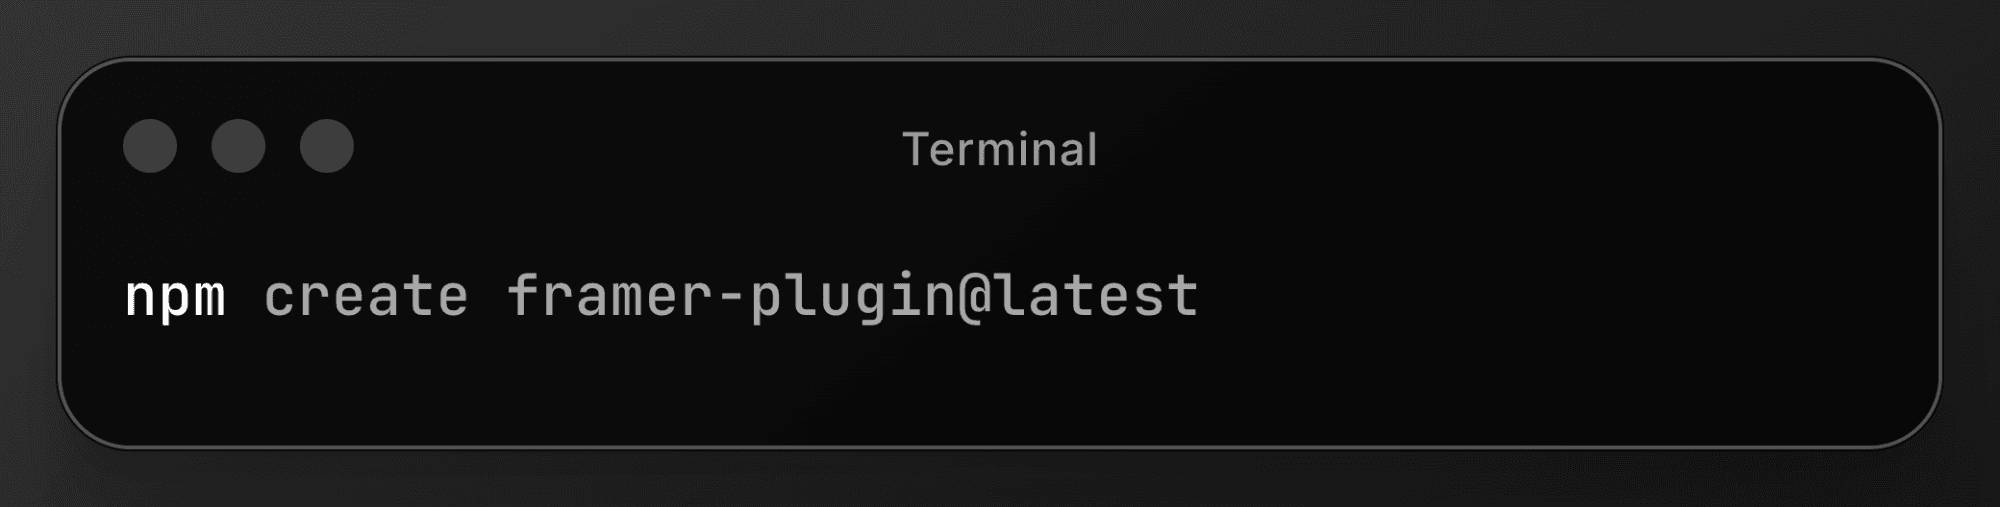
This command guides you through a short setup process and then generates a new folder containing all the files you’ll need to build your Framer plugin.
4. Understanding Your Plugin’s File Structure
In the project folder created in the previous step, you’ll see a few key files:
package.json
This file contains your plugin’s info: the name, the version, the dependencies, etc..
framer.json
This is the file to update to change the name or icon of your plugin.
src/App.tsx
This is the main file where your plugin’s logic + UI live.
These are the only files you’ll interact with for most beginner plugins.
5. Previewing Your Plugin in Framer
You can open your plugin inside Framer at any time while you build.
This will help you to preview and test the changes you make to the code.
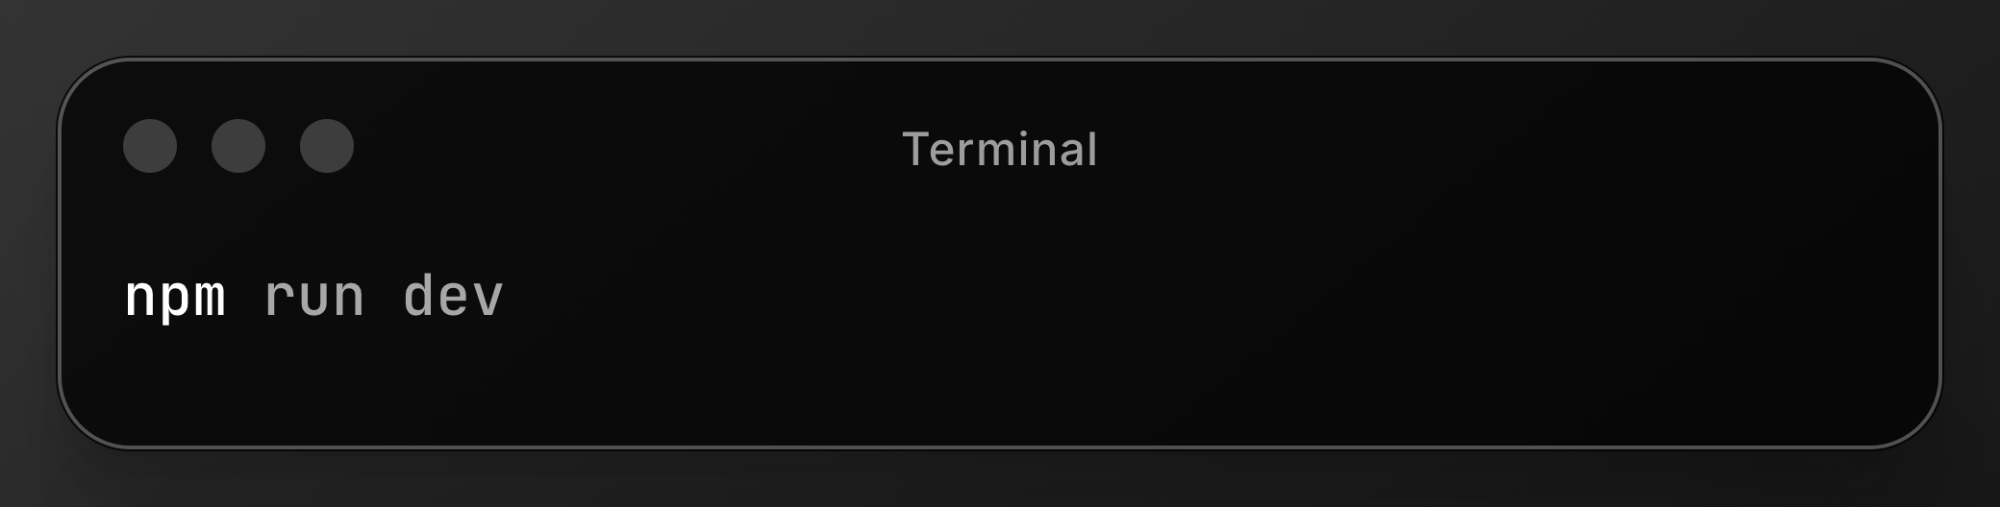
Run the following command in the in-built terminal to start a local development server on your computer:
Then, to preview the plugin:
Open Framer
Click on the Plugins button (the same you use to search for existing plugins)
Click on Browse All..
And select Open Development Plugin..
Framer will load your plugin and automatically refresh when you save changes made in your code editor.
6. Plugin Name & Icon
Change your plugin name:
To change the name of your plugin you’ll need to update the "name" field in those 2 files:
package.json
{ "name": "My Plugin Name" }
framer.json
{ "name": "My Plugin Name" }
Change your plugin icon:
Create a 180×180 SVG named icon.svg
Drop it into the public/ folder
Restart the server if needed
Press Ctrl + C to stop the current server
Run npm run dev command to start a new server
7. How to Actually Build Your Plugin
This tutorial isn’t meant to teach you how to code a full plugin from scratch.
If you’re reading this, chances are you either don’t know how to code yet or you only have very basic knowledge (but you want to learn and build a plugin).
Rather than jumping straight into JavaScript and React, I recommend using Cursor to help you build your plugin. With Cursor you can simply describe what you want your plugin to do, and it will write and update the code for you.
I’ve also written a separate step-by-step tutorial focused entirely on building Framer plugins with Cursor. In that guide, I go deeper into:
Setting up your project with GitHub
Best practices for building features with AI
Paid VS Free plugin setups
It also includes a free Starter Kit preconfigured with rules that help guide the AI to build your plugin correctly.
You can find that tutorial here.
It’s the easiest way to focus on your idea and the features you want to create while Cursor takes care of the coding.
8. Publishing Your Plugin
Test your plugin:
Before publishing your plugin you want to make sure it works as intended. Test your plugin as if you were a user:
Use it inside the Framer desktop app
Test it in the web version of Framer (Chrome, Safari, Firefox)
Check both light and dark modes are working
Make sure the UI matches Framer’s look (use their CSS variables)
Remove any unused files
Package your plugin:
Once everything works as it should, it’s time to package your plugin.
Run the following command in the in-built terminal:
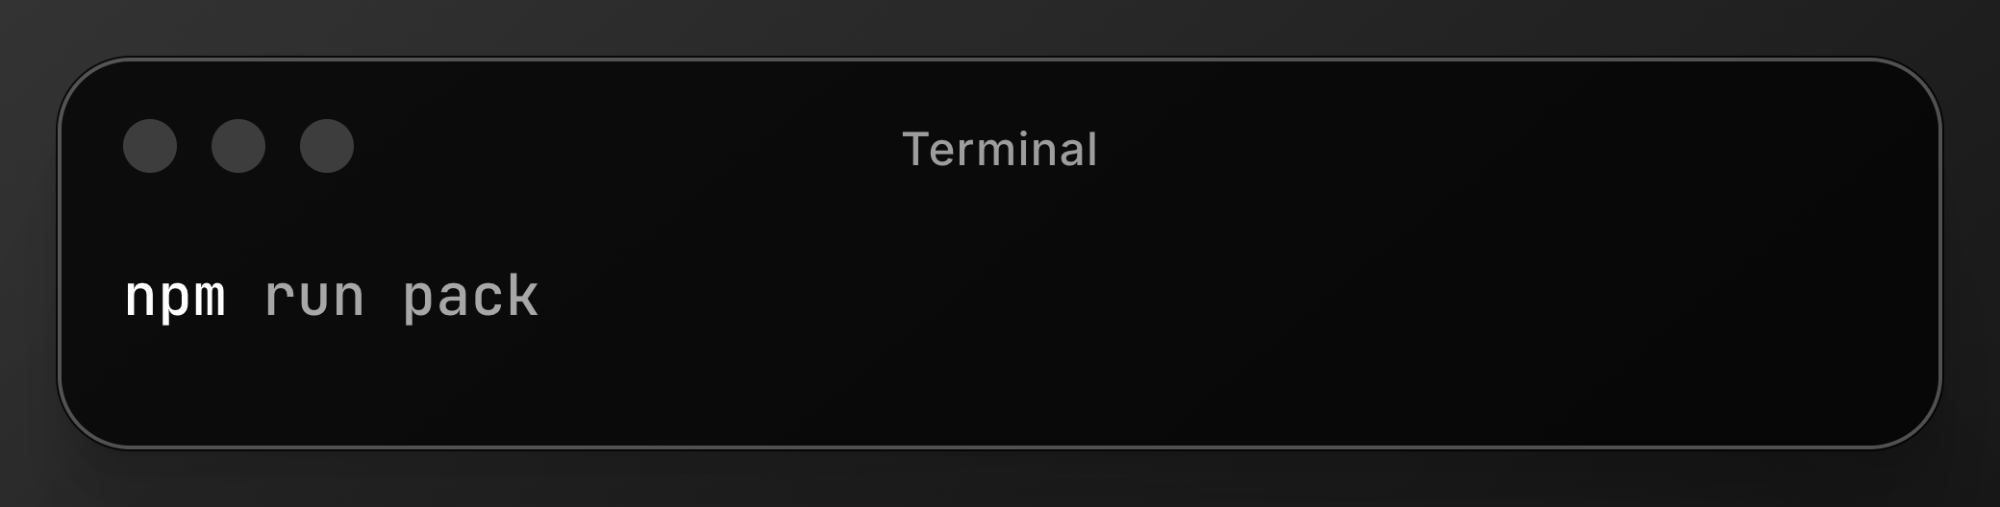
This generates a plugin.zip file. That’s the file you’ll need to submit to Framer.
Prepare your listing assets
Cover image
Tagline & description
Screenshots of the plugin
Reviewer instructions (e.g. include a test license key if it’s a paid plugin)
Submit your plugin to the Framer marketplace
Go to your Creator Space → Plugins
Click New Plugin
Upload your ZIP
Fill in the details
Choose free / freemium / paid
Framer will review your plugin and email you if they need changes.
Get More Visibility
Your plugin is now live on the marketplace so users will be able to find it within the Framer app, but you should also consider sharing it online to get more visibility.
Here’s a list of places to share your plugin:
Frameplate - a directory of Framer resources.
Frameplugins - a directory of Framer plugins.
Your social media accounts (X, LinkedIn, Discord).
Your own website.
These communities will help drive early users to your plugin.
Building your first Framer plugin is actually much easier than it seems.
You just need to start small and learn the basics. If you follow this tutorial, you’ll have everything set up correctly and you’ll understand how the plugin structure works.
If you want to use AI to help you build your plugin, consider checking my other tutorial about building a Framer plugin with Cursor.